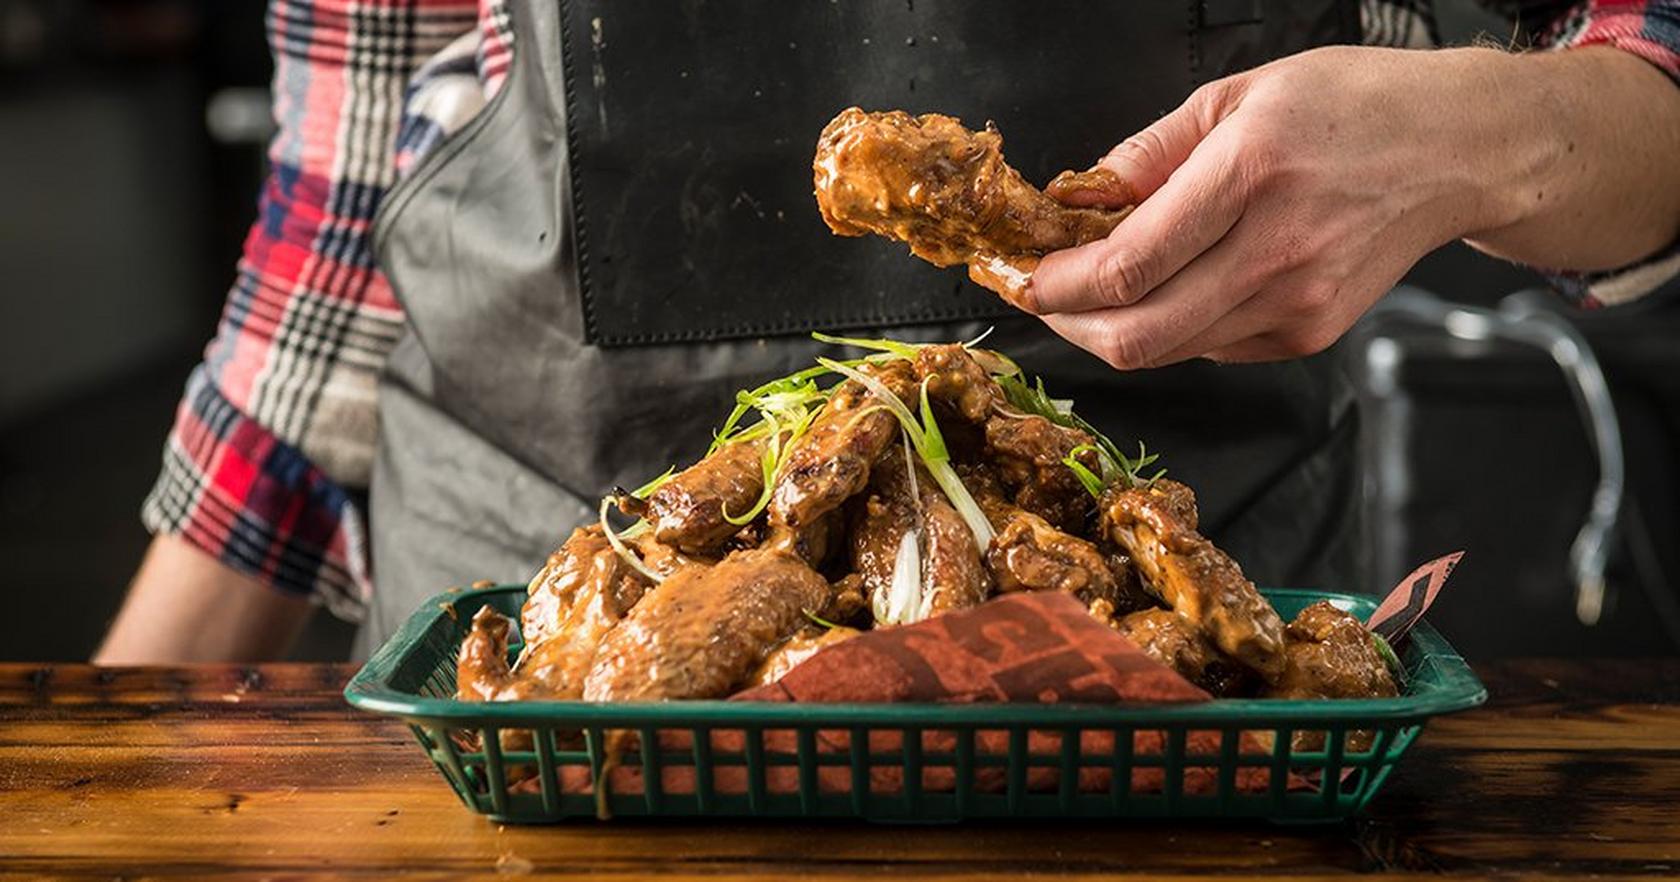
Let’s get one thing straight right off the top: You don’t have to brine chicken wings in order for them to turn out tasty. But brining chicken wings—basically soaking them in a salty liquid solution—can make them even more tender and flavorful. But before we get into the steps to a killer chicken wing brine, and a top recipe, let’s talk a little about what brining is generally.
What is Brining?
Brining proteins (aka meat, poultry, fish, and shellfish) is a method of preserving that dates back thousands of years. In the days before refrigeration, it was used to remove most of the water from the proteins, which in turn kept them from rotting easily. Often it went hand in hand with smoking afterward (think jerky or smoked salmon).
Nowadays, we don’t need to brine for preservation; we do it because it improves both the flavor and texture of meats, especially lean ones (and often larger ones) like turkey, chicken, and pork.
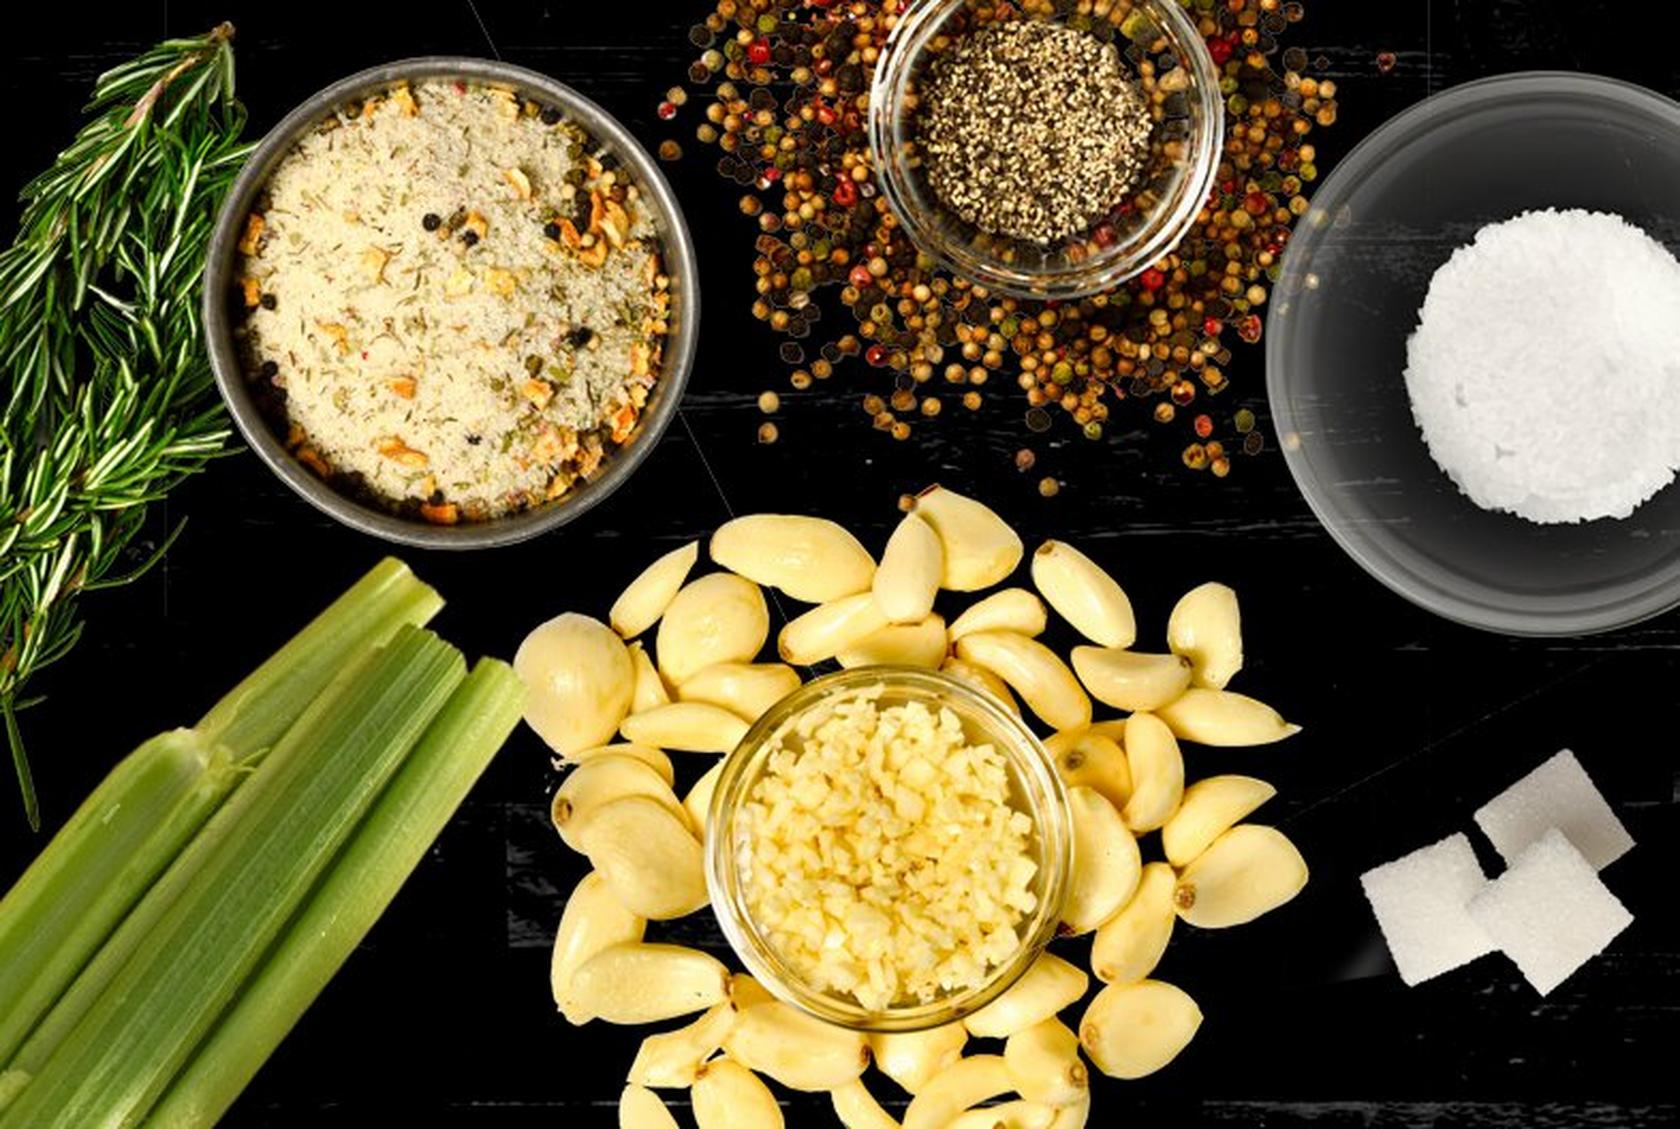
At its most basic, a brine such as a chicken wing brine, is a solution of salt and water that’s heavy on the salt. (Sugar and other flavorings, like garlic and spices, as well as different flavored liquids, can be added, but compared to the salt, their benefit is nowhere near as pronounced.)
Brining enhances juiciness in a number of ways. For starters, the muscle fibers simply absorb some of the liquid. But the salt that dissolved in that liquid also unwinds muscle fibers, which causes them to swell and break (what you science types would call denaturing). This results in a moist and plump product and a more tender bite. And because the salt is literally being absorbed into the meat, it’s seasoned not only on its exterior but inside as well—think of it as internal basting.

What is Dry Brining?
While the literal definition of a brine is water saturated with salt, there also exists something called a dry brine. For a dry brine, the meat is coated all over with salt (as well as other spices and herbs optionally) and allowed to sit (in the fridge if for a long period). However, because it’s not submerged, any skin on the meat tends to cook up crisper, especially when a secret ingredient is added (more on that later).
How to Wet Brine
The key to a good liquid brine is to have the right concentration of salt. General recommendations are 1 cup table salt (or 1 ½ cups kosher salt) per gallon of liquid.
Note that different salts will affect how saltiness of the brine because their crystal sizes differ, which affects volume. For the same volume of table salt versus kosher, the table salt will be saltier because its crystals are smaller and that 1 cup will pack in much more table salt. There’s even a significant difference between the two major brands of kosher salt, with Diamond being less salty by volume than Morton. For this reason, many brining recipes will include a weight for the salt, which will be accurate no matter the crystal size. (For the record, the Traeger test kitchen generally sticks to Diamond kosher salt.)
The salt is usually heated in the water to dissolve it and then allowed to cool completely before any meat is submerged in it. The length of time needed in this salty bath depends on the size of the protein.
For, say, a turkey, you’d want at least 12 hours and up to 48 hours. Smaller proteins, such as wings, require much less time, as little as 2 hours will do the trick and up to 24 is ok, but the longer they sit in the solution, the saltier they will be. (Ironically, too long a soak can also cause them to dry out.) Aim for somewhere between 2 hours and 12 hours, and you should be good. After brining, rinse the wings—or not. If you have added other ingredients that did not dissolve in the water, you might want to rinse. Or, if you plan to add a spice rub with more salt in it, it’s a good idea to rinse. Otherwise, the most important step here is to dry the wings well with paper towel and, even better, let them air dry in the fridge for a couple hours for the crispiest skin.
How to Dry Brine
For a dry brine, you want to coat the protein all over with a generous seasoning of kosher salt and let it rest on a rack over a rimmed sheet pan in the refrigerator. (The timing guidelines are about the same as for a wet brine.) As the meat sits, the salt draws the moisture out of the meat creating essentially a liquid brine on the surface. The salt dissolves in the liquid and then gets reabsorbed by the meat, denaturing the proteins to make each bite more tender. You will know the process is complete when the surface of the protein once again looks dry. There is no need to rinse the protein, which is especially good news for chicken wings as you want them nice and dry to crisp well.
A secret dry brine ingredient for wings: baking powder or cornstarch. If you plan to dry brine, mix the salt with the same amount of baking powder or cornstarch (about 1 teaspoon of each per pound of chicken wings). This is especially helpful when baking or grilling as opposed to frying. As J. Kenji Lopez-Alt explains on Serious Eats: As the dry brined chicken cooks, the baking powder “forms carbon dioxide gas in the same way that it would in a cookie dough or cake batter, inflating these juices into bubbles, which are then naturally hardened by the heat of the oven. And, as we all know, extra bubbles mean extra surface area, which means extra crunch!”

How to Brine Chicken Wings
What’s great about chicken wings is that, as opposed to a giant turkey, they are easy to manage. You can use just about any chicken wing brine you like. Once it’s cooled, simply submerge the wings in it and refrigerate. Drain and dry well and you are good to go. There are many delicious brining recipes, but here are a few of our wing-specific favorites:
- Traeger Dry Rub Wings may be called dry rubbed, but it starts with a wet brine that includes some garlic and red pepper flakes plus brown sugar which can aid in browning.
- Smoked Korean-Style Wings puts a spin on wings with a wet brine that include citrus.
- This roasted take on Buffalo Wings starts with a dry brine featuring Traeger Chicken Rub and cornstarch, which acts similar to baking powder (and some say better when it comes to chicken wings).
Note that even if a recipe does not include a brining step, you can always add that extra step to boost flavor and benefit texture. For more great chicken wing recipes, look here.
How to Cook and Brine Chicken Wings
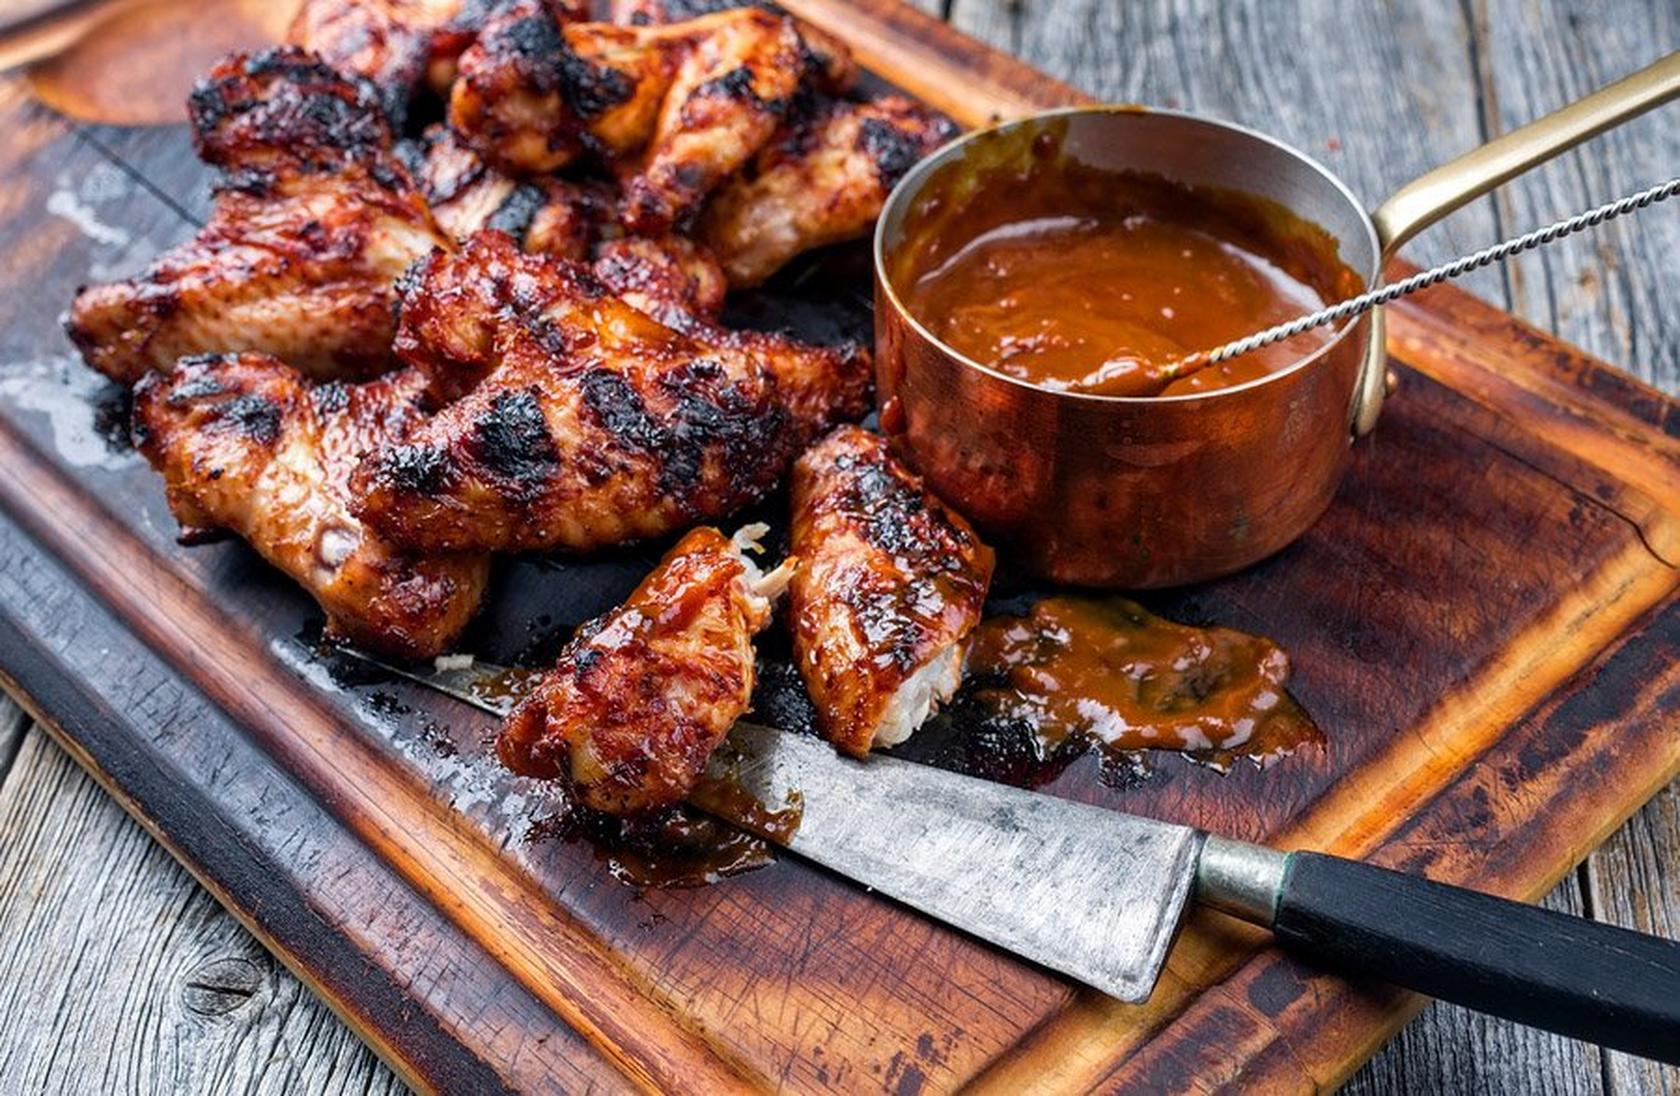
Once you have brined (and dried if necessary) your wings, you can cook brined wings as you would any other chicken wing. That is, you can fry it, bake it, or, best of all—give it would-fired flavor on your Traeger.
When cooking on the Traeger, there are basically two approaches. Once is to blast the wings start to finish on high heat. In this case, a brine is especially helpful for keeping the meat juicy and tender. Another approach is to start them over low heat to bring on some smoky flavor and then finish on high to crisp the skin. Look here for more information on how to grill wings on your Traeger. For how to season and smoke chicken wings, look here. Finally, you can go all out and fry your wings after smoking them on the Traeger, as Traeger's Chad Ward is shown doing below (along with NFL QB Justin Herbert).
No matter how you cook brined wings or what chicken wing brine you choose, one thing is for certain: They will be some of the best wings you’ve ever had.
And now that you have become a brining expert, check out other chicken recipes to which you can apply this handy technique.

No matter how you cook brined wings or what chicken wing brine you choose, one thing is for certain: They will be some of the best wings you’ve ever had.
And now that you have become a brining expert, check out other chicken recipes to which you can apply this handy technique.
Ranch Buttermilk Chicken Wings
by Austen Granger
16 Reviews
Prep Time
10 Min
Cook Time
40 Min
Serves
6
Pellets
Apple
A flavorful brine makes these buttermilk chicken wings extra tender. Finish these crisp grilled wings with some ranch seasoning and Parm and watch them disappear. Note that you can buy chicken wings already cut up into flats and drumettes, which are sometimes called party wings. If you'd rather cut whole wings up yourself, discard the tips or save them for making broth.
Ingredients
Brine
| 1 Cup | hot sauce, such as Traeger Original or Frank's RedHot |
| 1 Cup | buttermilk |
| 3 Tablespoon | pure maple syrup |
| 1 Teaspoon | granulated garlic |
| 1 Teaspoon | kosher salt |
| 1 Teaspoon | freshly ground black pepper |
| 4 Pound | chicken wings, flats and drumettes separated |
Finishing and serving
| 3 Tablespoon | finely grated Parmesan cheese |
| 1 Tablespoon | dry ranch seasoning |
| Ranch dressing | |
| Celery sticks, carrot sticks, and/or radishes (optional) |
1
In a medium bowl, combine the hot sauce, buttermilk, maple syrup, granulated garlic, salt, and pepper. Whisk well. Pat the wings dry if necessary, add them to the bowl, and toss to coat. Cover and refrigerate for at least 3 hours and up to 12 hours.
2
Preheat the Traeger grill with the lid closed to 450°F; this will take at least 15 minutes.
3
Place the wings directly on the grill grate and cook for 20 minutes.
4
Flip the wings over and cook until cooked through—a little char is great—with an internal temperature of about 180°F, about another 20 minutes.
5
Transfer the cooked wings to a large bowl. Add the cheese and the ranch seasoning and toss well to coat.
6
Serve with a dressing for dipping, celery sticks, carrot sticks, radishes, and more hot sauce as desired. Enjoy!